The Process Behind Creating a Custom Mural: From Concept to Completion

A custom mural has the ability to transform a space in ways traditional paint simply cannot. Whether it’s used to reinforce a brand, enhance a commercial environment, or create a meaningful visual statement in a home, a successful mural is the result of thoughtful planning and skilled execution.


While the finished artwork may feel effortless, every mural follows a deliberate process designed to ensure quality, durability, and visual impact.


It Starts With a Clear Vision

Every project begins with a detailed consultation to establish direction. This early stage shapes the entire outcome and ensures that both the client and artist are aligned before design work begins.


During this phase, key elements are defined, including:

  • The purpose of the mural and the message it should convey
  • Preferred styles, themes, or inspiration
  • Size, scale, and placement within the space
  • Timeline considerations and environmental factors


For businesses, this often means aligning the mural with brand identity and customer experience. For residential projects, the focus is typically on aesthetic harmony and personal expression.


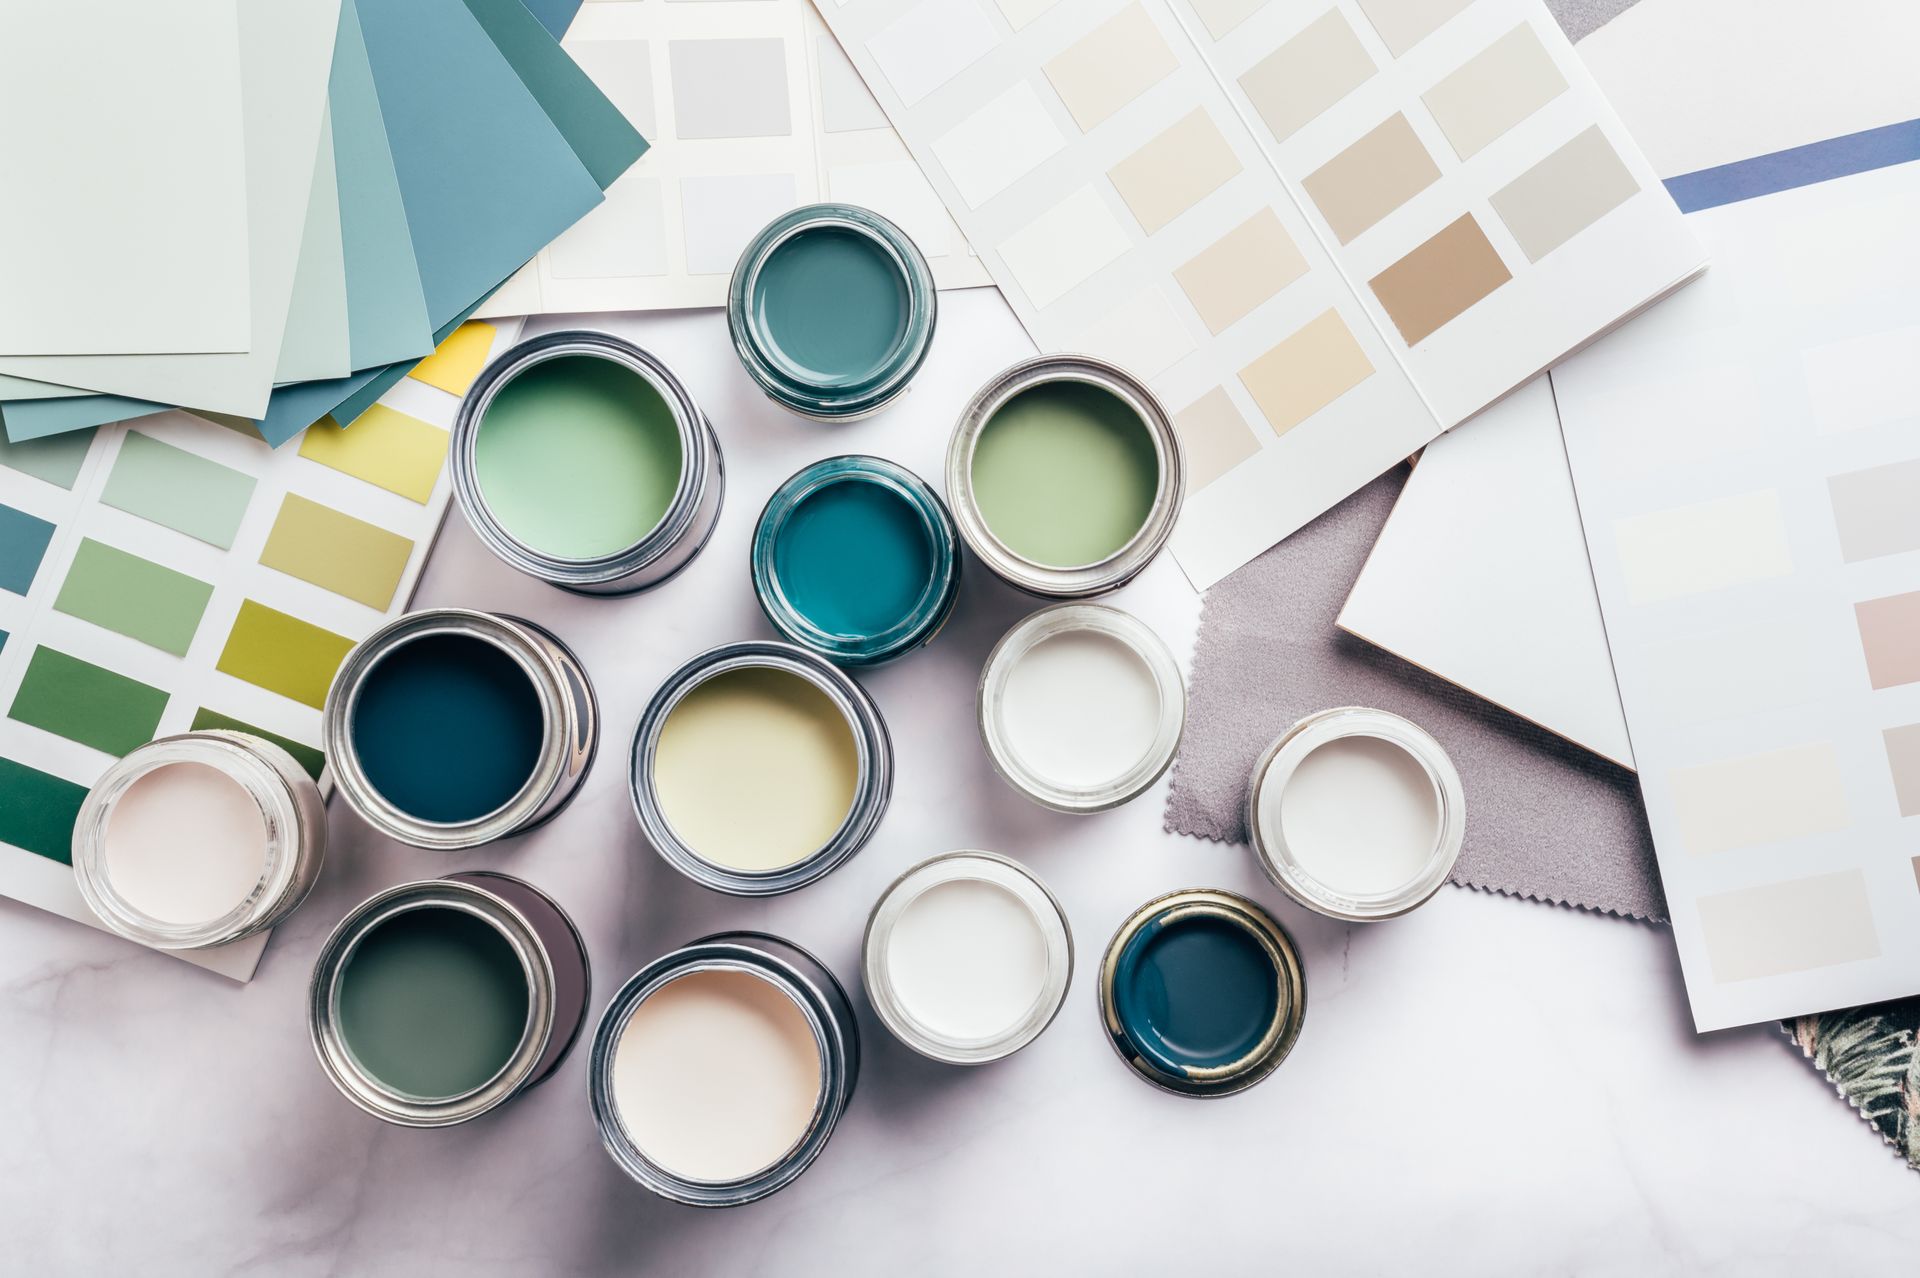
From Idea to Design Concept

Once the vision is established, concepts are developed through sketches or digital renderings. This allows clients to see how the mural will translate onto the wall before painting begins.


Professional mural design goes beyond visual appeal. It also accounts for:

  • Viewing distance and sightlines
  • Lighting conditions throughout the day
  • Wall texture and surface materials
  • Architectural features that affect composition

This stage often includes refinements and revisions, ensuring the final design is both visually compelling and technically sound.


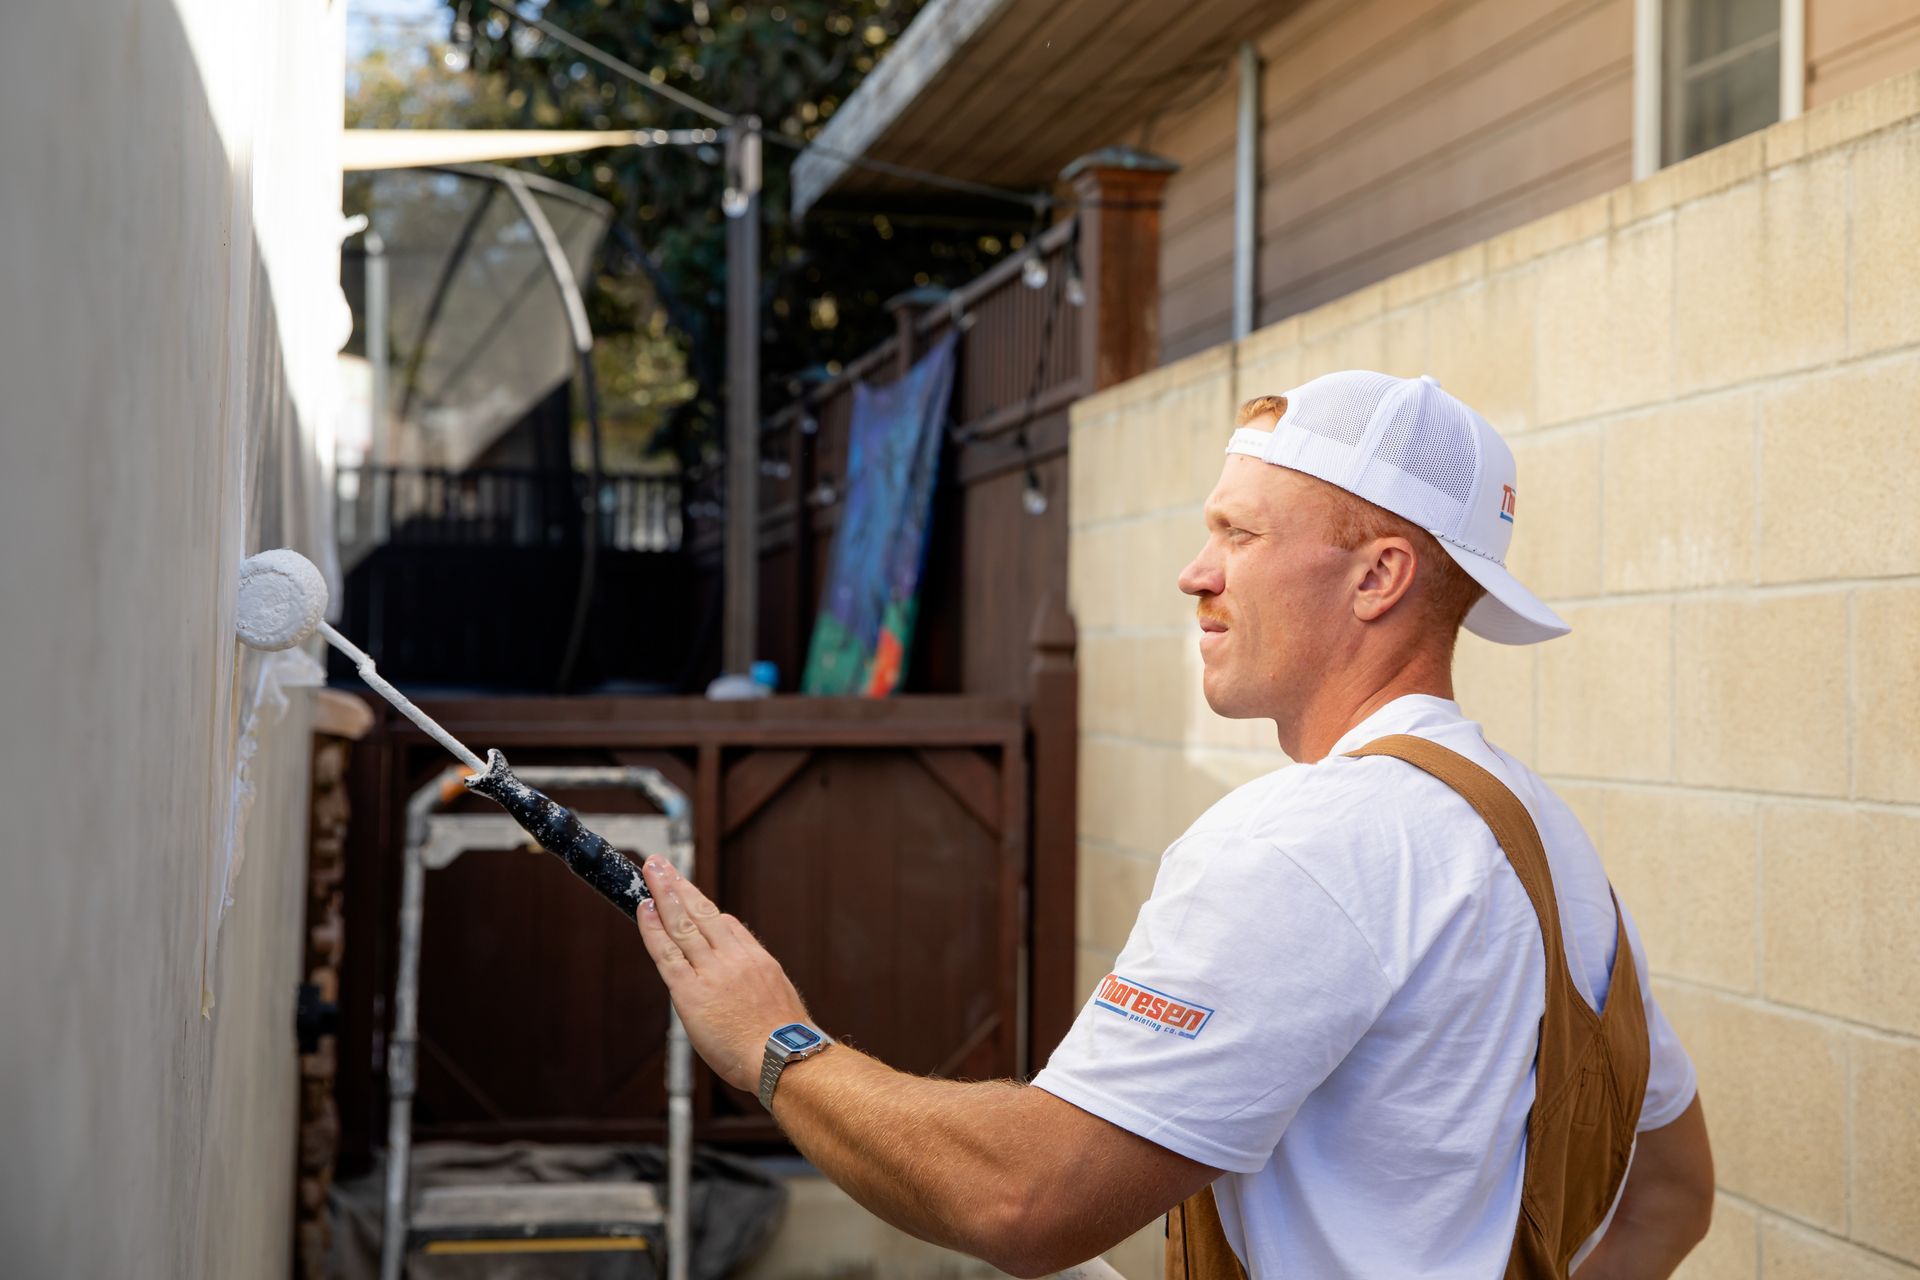
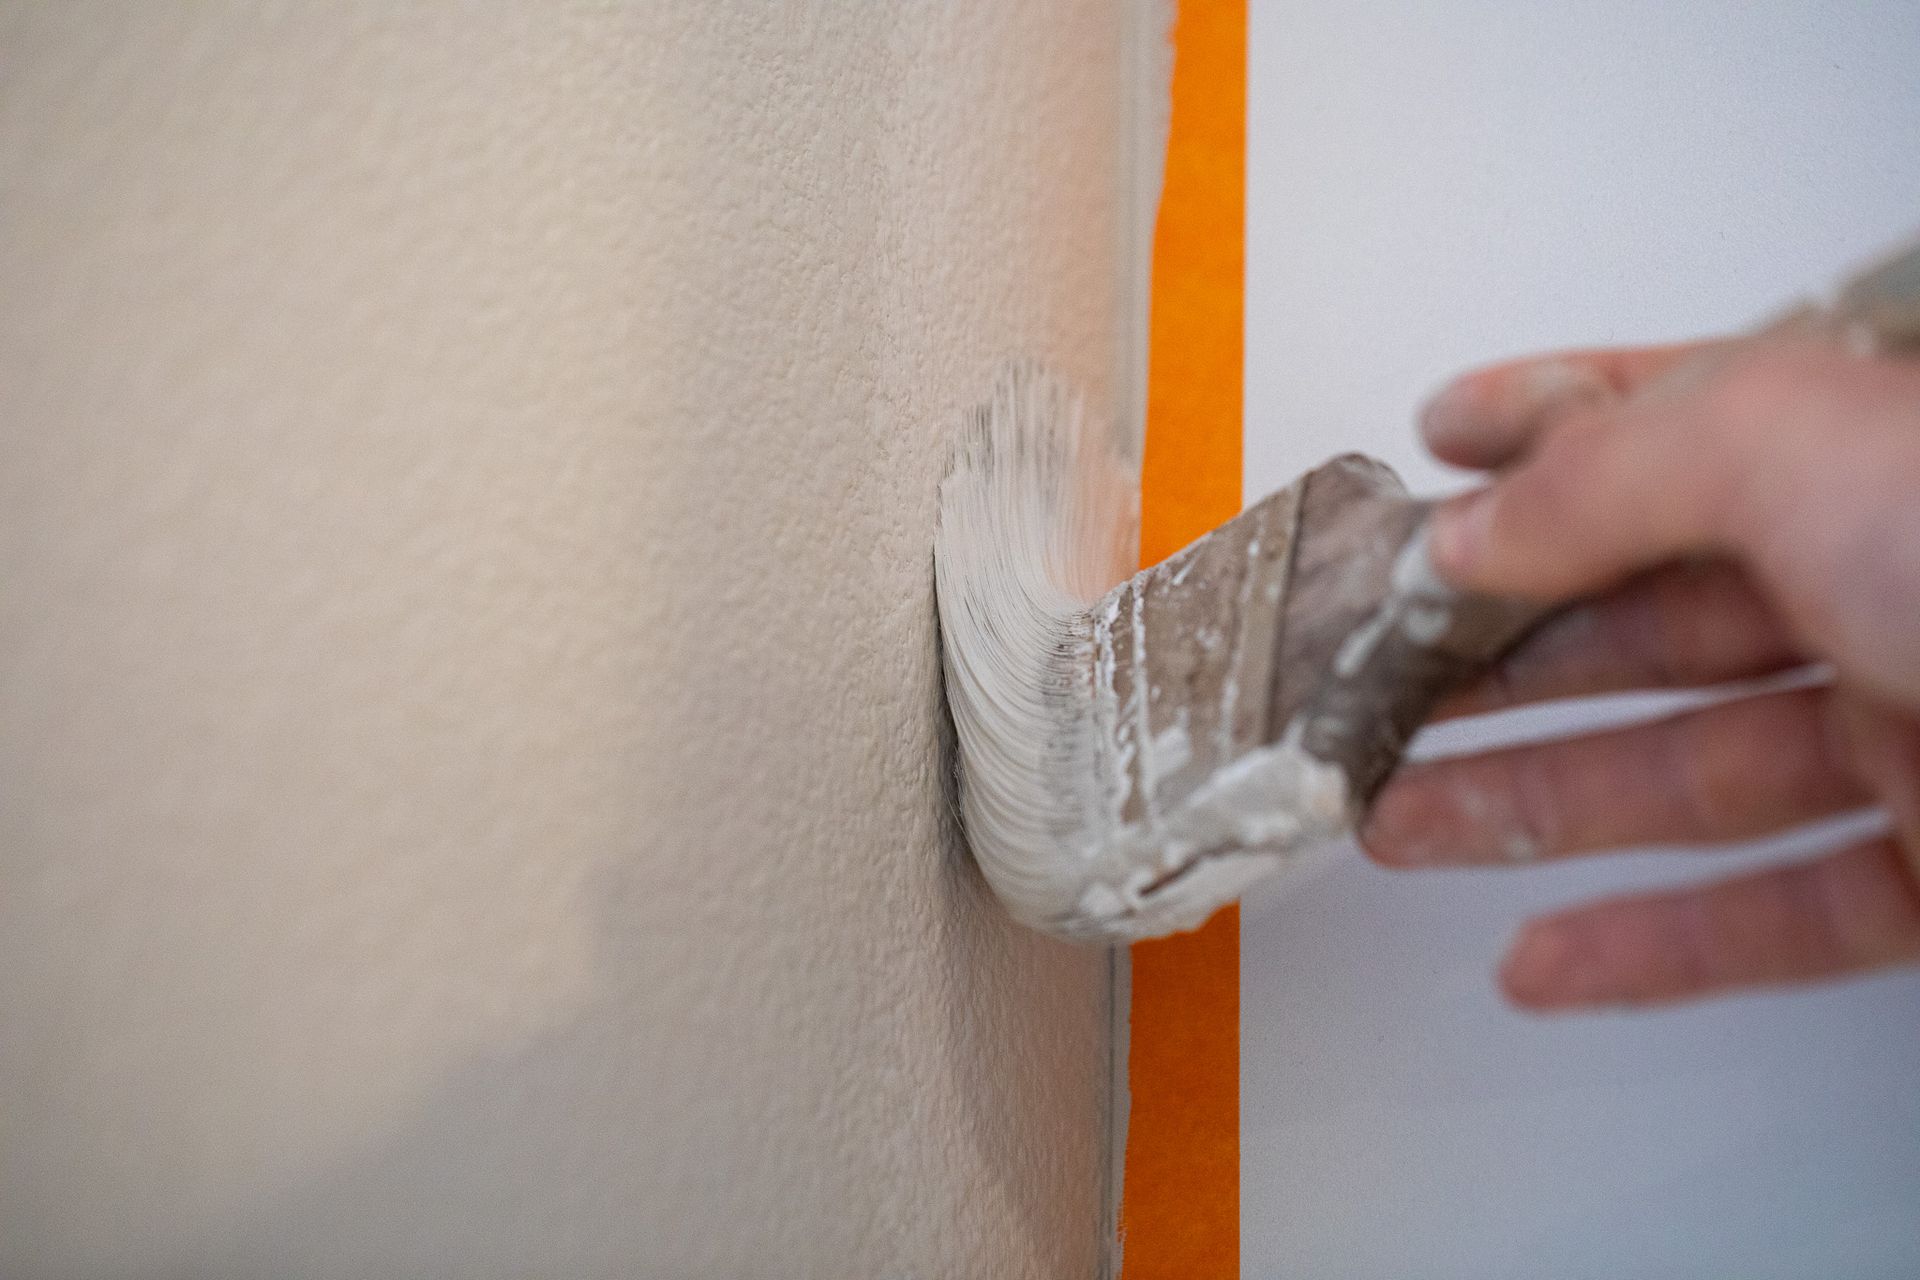
Surface Preparation Sets the Foundation

One of the most important steps happens before a single brushstroke is applied. Proper wall preparation directly affects how the mural looks and how long it lasts.


Preparation may involve:

  • Cleaning and degreasing the surface
  • Repairing cracks or imperfections
  • Smoothing uneven areas
  • Applying primer to ensure proper adhesion


Skipping or rushing this stage can lead to premature wear, peeling, or uneven finishes — even with high-quality paint.


Accurate Layout and Scaling

Before painting begins, the design must be precisely transferred to the wall. Accurate scaling ensures that proportions remain intact and that the mural fits naturally within the space.


This step helps prevent:

  • Distorted imagery
  • Misalignment with architectural elements
  • Imbalanced compositions


Precision at this stage protects the integrity of the final result.


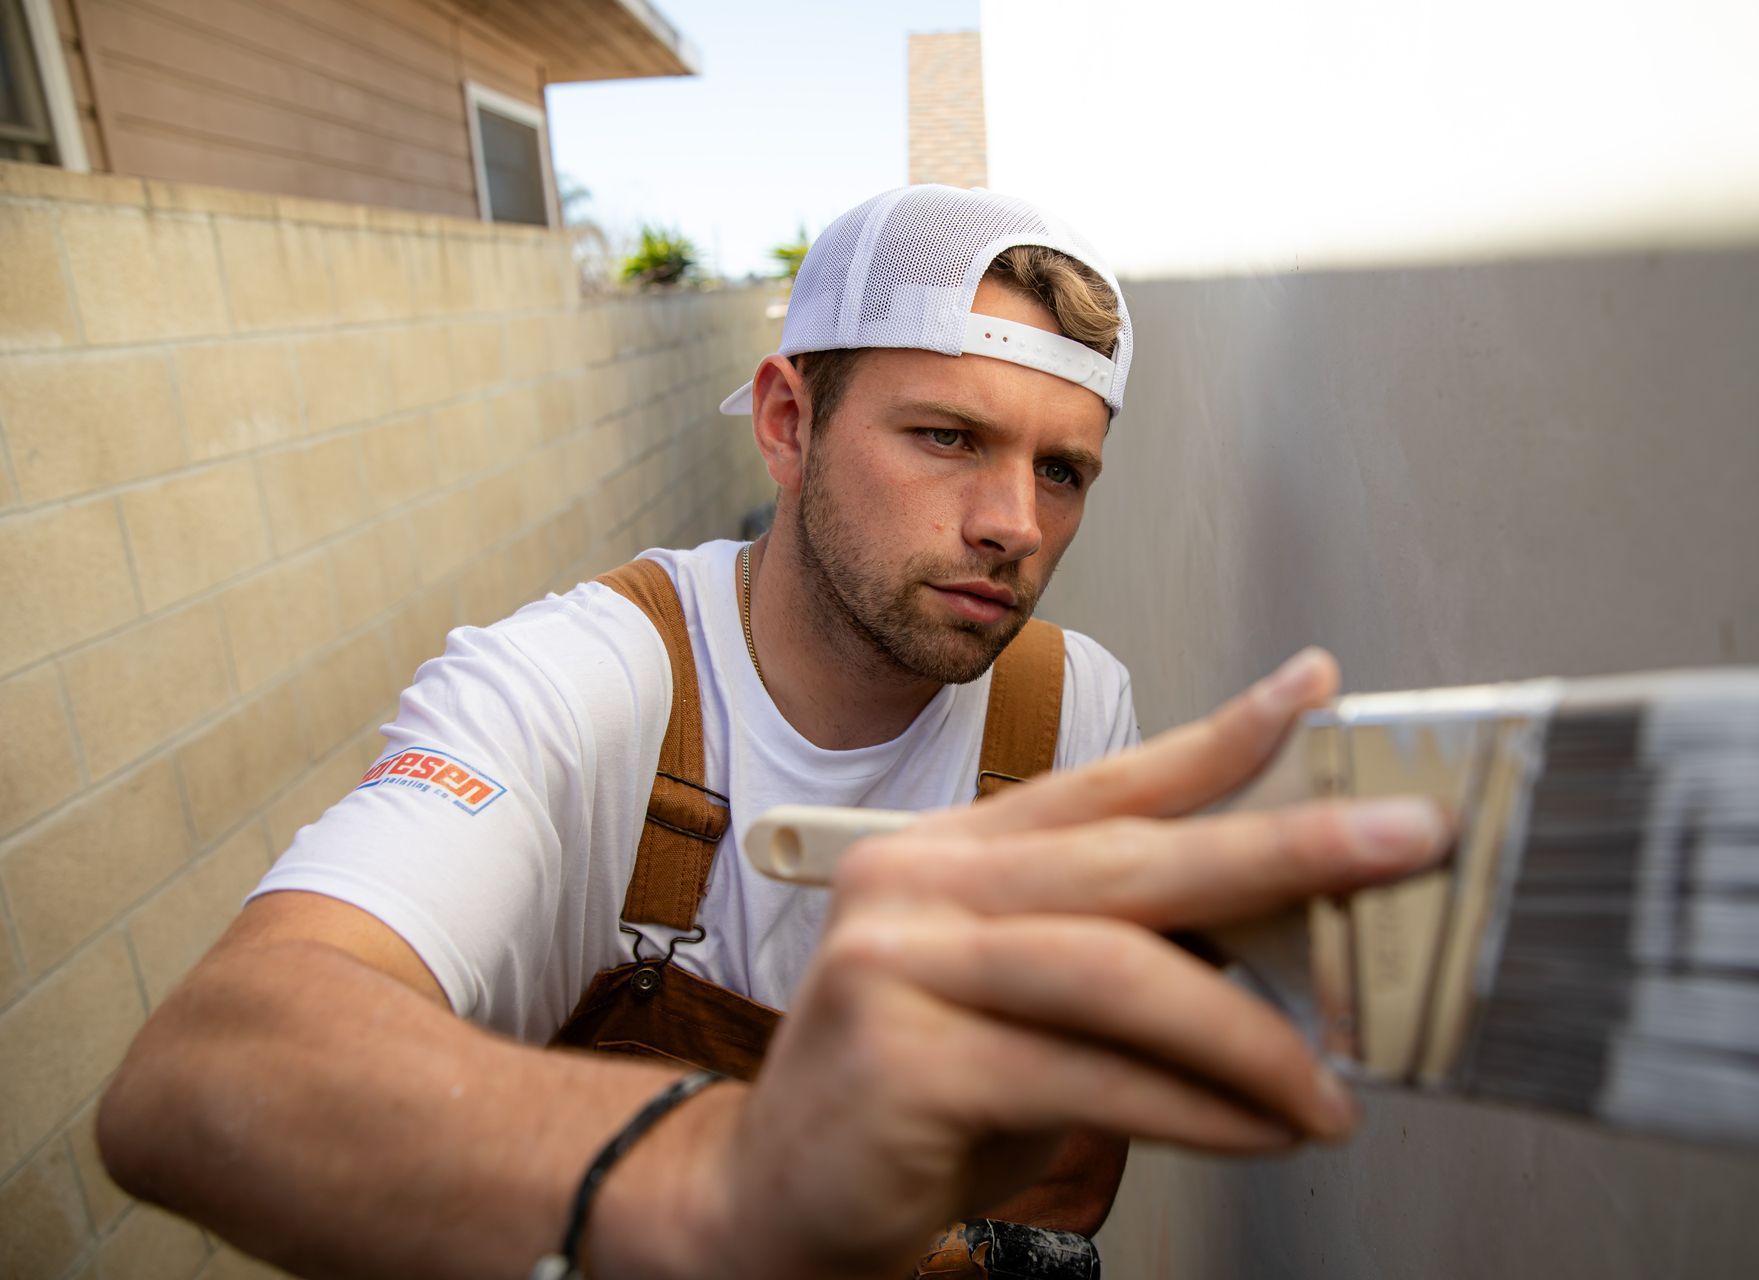
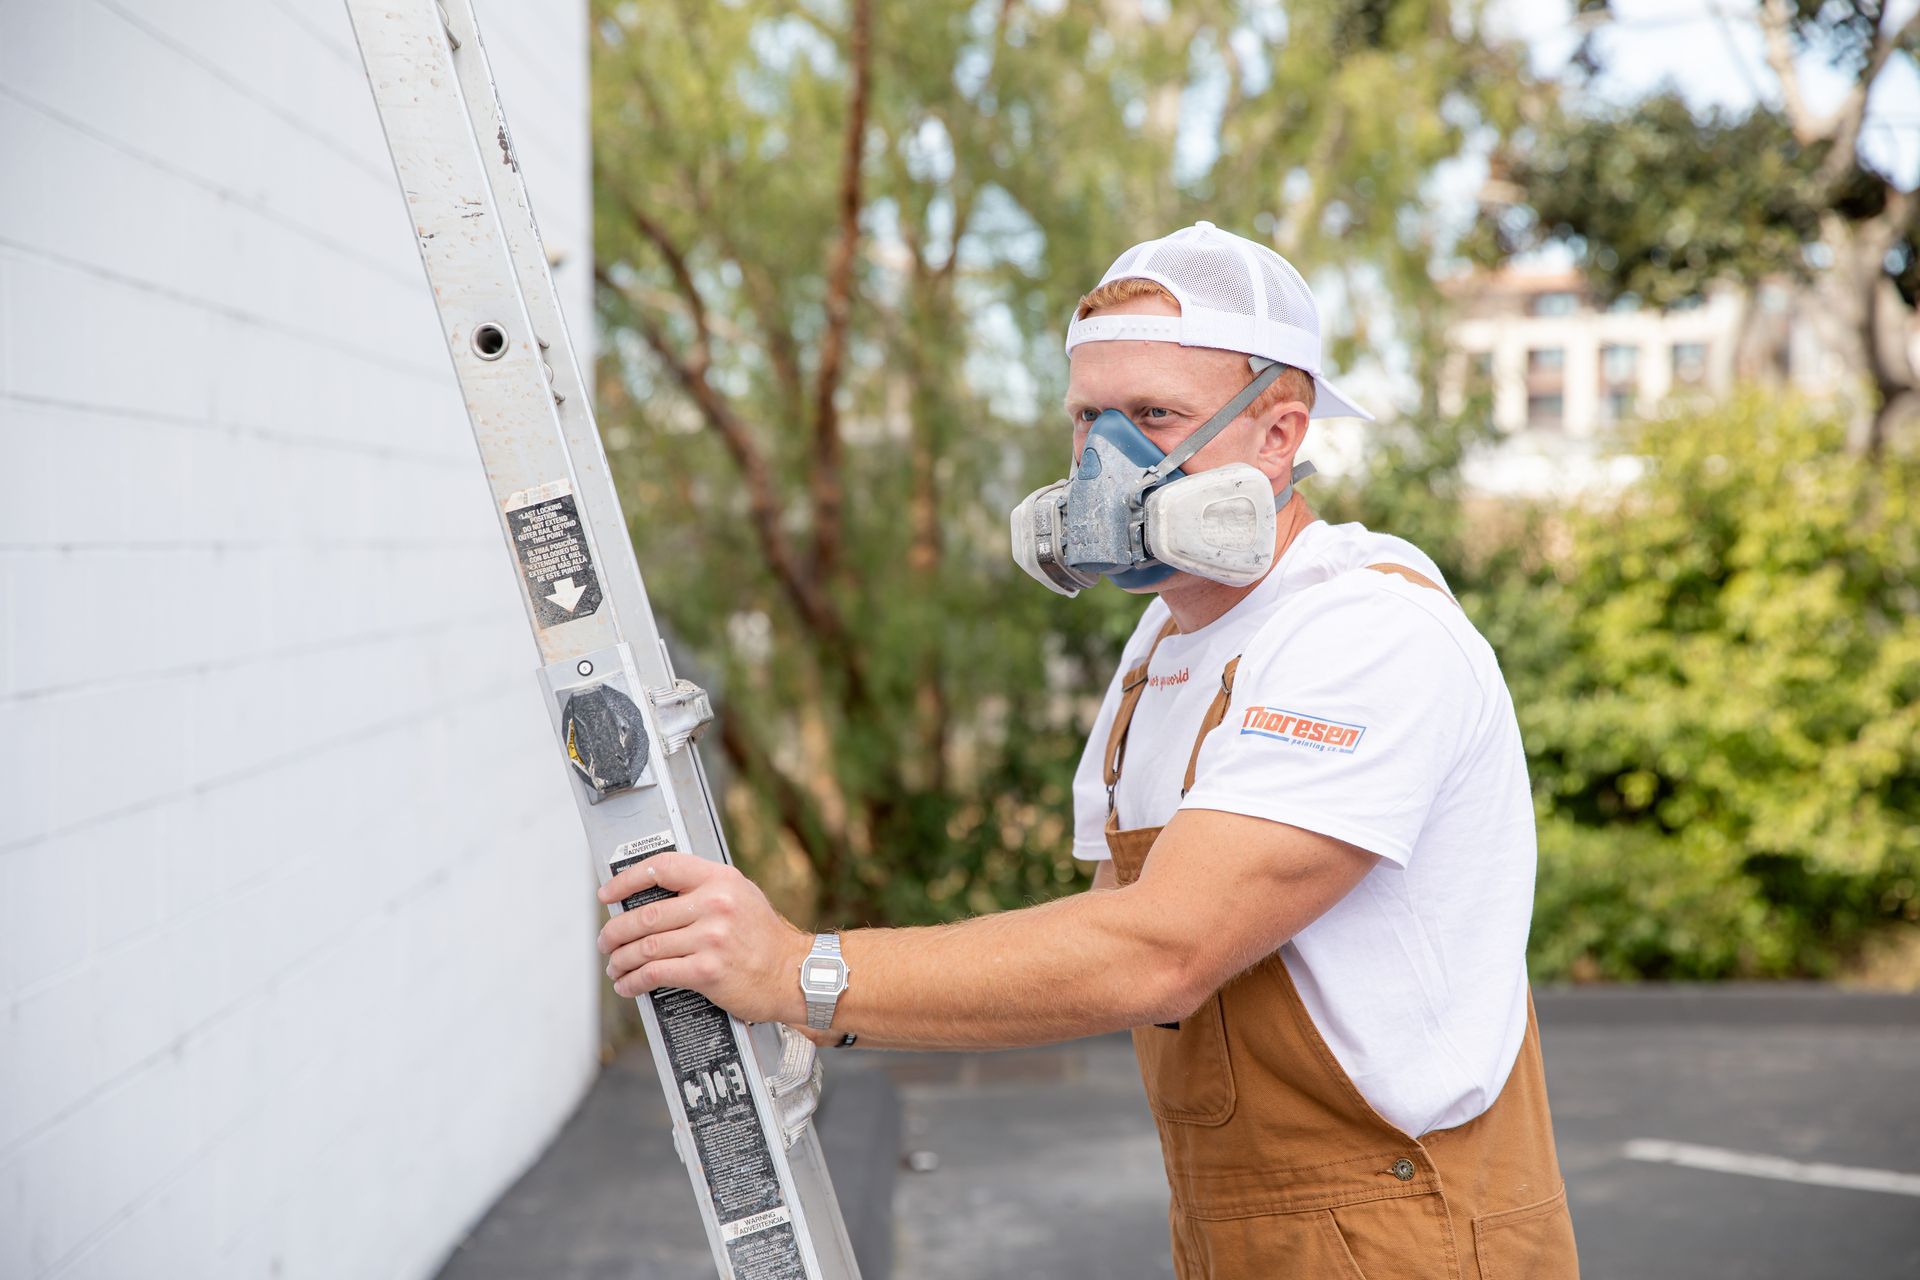
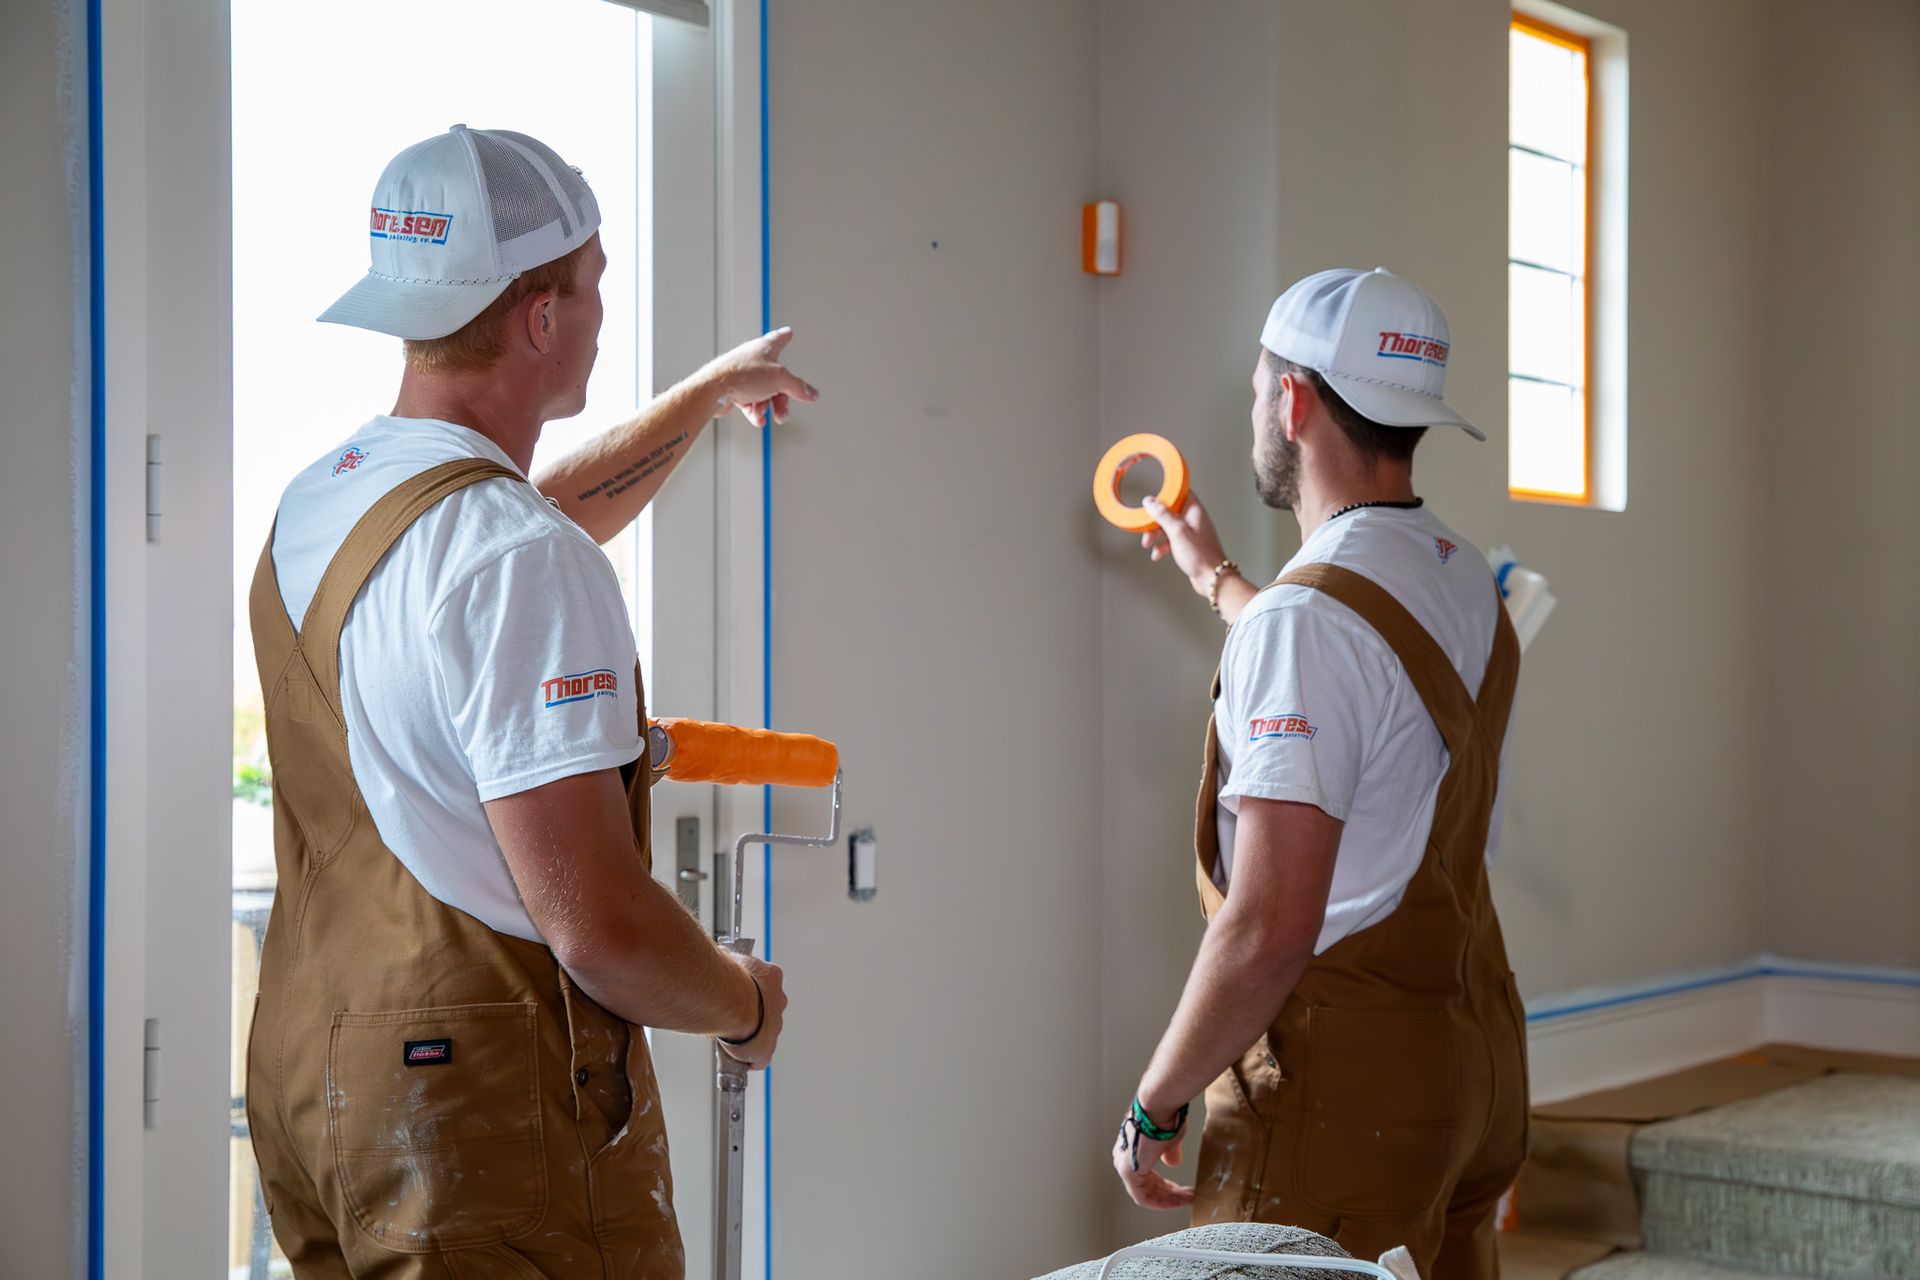
The Painting Process

With the layout in place, the mural comes to life through layered color application and detailed refinement. Professional mural painting is a controlled process that balances artistic expression with technical execution.


Depending on the size and complexity of the mural, this phase may include:

  • Building depth through multiple paint layers
  • Blending colors for smooth transitions
  • Adding fine details and texture
  • Working in stages to account for drying time and lighting


Consistency and patience are essential to achieving a cohesive finish.


Finishing and Protection

Once the artwork is complete, protective finishes may be applied, particularly for exterior murals or high-traffic commercial spaces.


Protective measures can include:

  • Clear sealants to guard against wear
  • UV-resistant coatings to prevent fading
  • Finishes designed for easier cleaning and maintenance

These final steps help preserve the mural’s appearance and extend its lifespan.


Why Professional Mural Work Matters

Murals combine art, surface science, and craftsmanship. A professionally executed mural delivers more than visual appeal — it provides longevity, structural integrity, and a polished final result.


Professionally created murals offer:

  • Better color retention over time
  • Stronger adhesion and durability
  • Clean, consistent finishes
  • A design that works with the space, not against it


Poor execution, on the other hand, often becomes evident months or years later through fading, peeling, or cracking.


A Thoughtful Investment in Your Space

Whether commissioned for a business or a home, a custom mural is an investment in the environment it occupies. When approached with care and expertise, it becomes a lasting visual asset rather than a temporary feature.


Final Thoughts

Creating a custom mural is a collaborative, step-by-step process. From early concept discussions to final protective finishes, each stage plays a critical role in delivering a result that is visually striking and built to last.


Understanding this process helps clients set clear expectations and appreciate the craftsmanship behind professional mural work.

Garage floor with speckled epoxy coating in gray, black, and white.
By thoresenpainting January 21, 2026
Explore popular epoxy floor styles and finishes for garages and commercial spaces in San Diego and North County. Learn which epoxy option fits your space best.
Painter in a white hat and shirt focused on applying paint to a surface outside.
By thoresenpainting November 25, 2025
DIY or hire a pro? Learn when it’s worth calling a professional painter in San Diego. Compare cost, safety, timelines, and quality with Thoreson Painting.
Paint cans open with various shades of green, blue, and white, color swatches.
By thoresenpainting October 28, 2025
Discover how color psychology shapes customer perception and behavior. Learn the best paint colors to enhance your business space and reflect your brand.
Man painting a wall with a roller outdoors. He wears overalls and a white hat.
By thoresenpainting September 22, 2025
Discover the top 5 signs it’s time to repaint your home. Learn how peeling, fading, and weather damage can lead to costly problems—and how Thoreson Painting can help
Man in respirator and overalls on ladder painting a white building exterior.
By thoresenpainting July 21, 2025
Durability, Washability, and Long-Term Performance Matter
A person is painting a wall with a paint brush.
By thoresenpainting May 16, 2025
How to Choose the Right Finish for Every Room or Surface Choosing a paint color can be tough, but selecting the right paint finish is just as important. The finish you choose affects how your walls look, feel, and hold up over time. At Thoresen Painting, we help homeowners, business owners, and designers across San Diego pick the ideal finish for every surface, whether it’s a cozy bedroom, a high-traffic hallway, or a vibrant mural. Here’s what you need to know about matte, satin, semi-gloss, gloss, and how to make the right choice for your space. Why Paint Finish Matters Paint finishes (also called “sheens”) range from flat to high-gloss, each offering different benefits: Aesthetic: The finish affects how light reflects off the surface, which can change the overall look of a room. Durability: Some finishes are more resistant to moisture, stains, and wear, making them better for high-use areas. Cleanability: Higher-sheen paints are generally easier to wipe down. Common Paint Finishes Explained 1. Matte (Flat Finish) Best For: Ceilings, low-traffic rooms, accent walls Look: Soft and non-reflective Pros: Hides imperfections well, Rich, smooth appearance Cons: Harder to clean, Can scuff easily Ideal for: Bedrooms, living rooms, or ceilings where minimal light reflection and a calm look are preferred. 2. Eggshell Best For: Living rooms, dining rooms, or offices Look: Low sheen with slight luster (like an eggshell) Pros: Slightly more durable than matte, Still hides minor wall flaws Cons: Not ideal for areas that need frequent cleaning Ideal for: General-purpose walls in areas with moderate foot traffic. 3. Satin Best For: Kitchens, bathrooms, kids' rooms, hallways Look: Smooth and velvety with a soft sheen Pros: Easy to clean, Great balance between aesthetics and durability Cons: Can reveal wall imperfections more than eggshell or matte Ideal for: Busy households or commercial interiors where walls need to be wiped regularly. 4. Semi-Gloss Best For: Trim, doors, cabinets, bathrooms Look: Noticeably shiny and reflective Pros: Highly durable and washable, Moisture- and stain-resistant Cons: Highlights imperfections on uneven surfaces Ideal for: High-traffic or high-moisture areas like kitchens and bathrooms, and for surfaces that need to stand out. 5. Gloss / High-Gloss Best For: Furniture, decorative features, commercial finishes Look: Very shiny and glass-like Pros: Ultra-durable and easy to clean, Bold, modern aesthetic Cons: Shows every imperfection. Surface prep must be flawless Ideal for: Cabinetry, statement walls, or modern commercial applications where durability and shine are essential. How to Choose the Right Finish Ask yourself: How much traffic will this space see? More traffic usually calls for more durability (satin or above). Do you need to clean this surface regularly? Kitchens, bathrooms, and kids' rooms benefit from wipeable finishes like satin or semi-gloss. Do you want to hide imperfections? Matte and eggshell are more forgiving for older or uneven walls. Is it a decorative focal point or trim? Semi-gloss or gloss adds visual pop and durability. Pro Tip from Thoresen Painting Many rooms benefit from mixing finishes . For example, you can use: Eggshell on walls for a soft feel Semi-gloss on trim and doors for contrast and durability Matte on ceilings to reduce light reflection Let’s Pick the Perfect Finish Together At Thoresen Painting, we’ve painted everything from ocean-view homes in La Jolla to custom murals and bustling commercial spaces throughout San Diego. We’ll help you choose the right finish, not just for style, but for real-life performance . Need help deciding what finish is best for your space? Contact us today to schedule your free consultation.
Two painters from Thoresen Painting Co. are prepping to paint a room inside a house.
By thoresenpainting April 21, 2025
When it comes to painting — whether it's a cozy living room, a busy commercial storefront, or a stunning outdoor mural — the secret to a flawless, long-lasting finish isn’t just the paint you choose. It’s what happens before the first brushstroke hits the wall. At Thoresen Painting, we know that proper surface preparation is what truly sets a professional-quality paint job apart from the rest. Here's why steps like sanding, priming, and cleaning are so critical to achieving beautiful, durable results. Why Surface Preparation Matters Think of painting like building a house: if the foundation isn’t solid, everything on top of it can crack, peel, or fall apart. Surface prep ensures that your paint adheres properly, looks smoother, and lasts longer, saving you time and money in the long run. Without the right preparation, even the highest-quality paint will struggle to perform. Poor prep can cause: Bubbling and blistering Uneven textures Premature peeling Fading and discoloration Visible flaws like dents and cracks The Key Steps in Surface Preparation 1. Cleaning the Surface Dirt, dust, grease, and even invisible residues can prevent paint from bonding properly. We thoroughly wash walls, siding, ceilings, or surfaces using appropriate cleaners. On exterior projects, we may use pressure washing. Indoors, a mild detergent and water solution can do the trick. Clean surfaces mean clean adhesion — it’s as simple as that. 2. Repairing Imperfections Small cracks, holes, dents, and other imperfections can show through even multiple coats of paint. We patch, fill, and sand these areas to create a smooth and even surface. For murals or detailed work, this step is especially important because even tiny flaws can disrupt the overall look. 3. Sanding Sanding isn't just about smoothing — it also helps create a slightly roughened surface that paint or primer can "grab" onto. Whether we're lightly scuffing glossy surfaces or smoothing patched drywall, sanding is essential for achieving a consistent, professional texture. 4. Priming Primer acts as the "bridge" between the surface and the paint. It helps with: Sealing porous surfaces (like new drywall or raw wood) Preventing stains from bleeding through Improving color vibrancy and coverage Enhancing adhesion for longer-lasting results Skipping primer can lead to dull, uneven, and easily damaged paint jobs. 5. Masking and Protecting Surrounding Areas A clean workspace ensures a cleaner final product. We carefully mask off areas that shouldn’t be painted — like trim, windows, fixtures, and floors — to keep edges sharp and minimize mess. Long-Term Benefits of Proper Preparation When surfaces are properly prepped, your paint job will: Last years longer with fewer touch-ups Resist peeling, cracking, and moisture damage Look smoother, brighter, and more polished Save you money by reducing the need for early repaints or repairs For businesses, it also means maintaining a professional appearance that builds trust with customers. For homeowners, it means pride in your living space that stands the test of time. Trust the Pros at Thoresen Painting Proper surface preparation isn’t the glamorous part of painting — but it’s the most important part. At Thoresen Painting, our commitment to excellence starts long before the first coat of paint. Whether it’s a residential refresh, a large-scale commercial project, or a custom mural, we make sure every surface is flawlessly prepped for maximum beauty and durability.